Manipulating The Face.
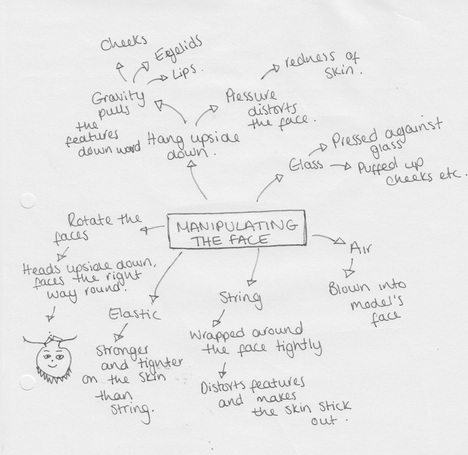
My initial ideas for this topic were using both physical and photoshop techniques to distort and manipulate the face. I had the idea of using string, elastic, air, glass and cling film to physically pull the faces. As well as this, I wanted to hang people upside down for a significant amount of time- therefore making the blood rush to the face and also meaning that gravity would pull the features down; the cheesy, lips and eyes.
Tadao Cern.
|
|
|
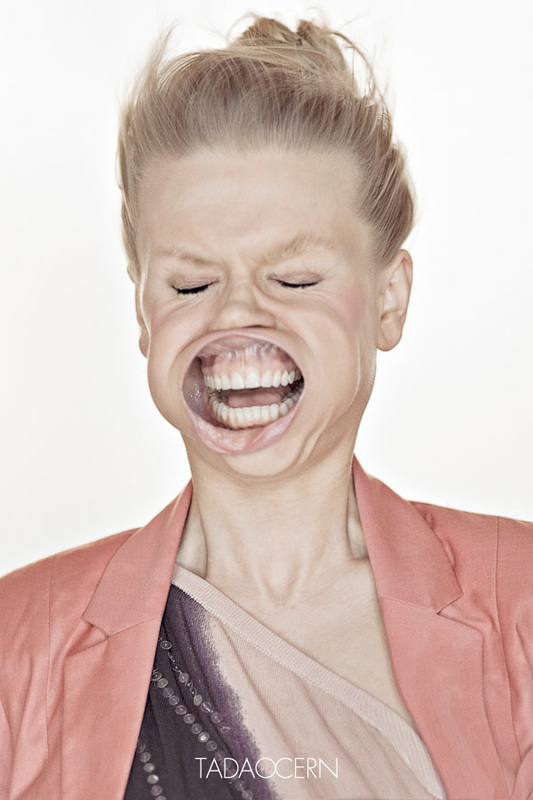
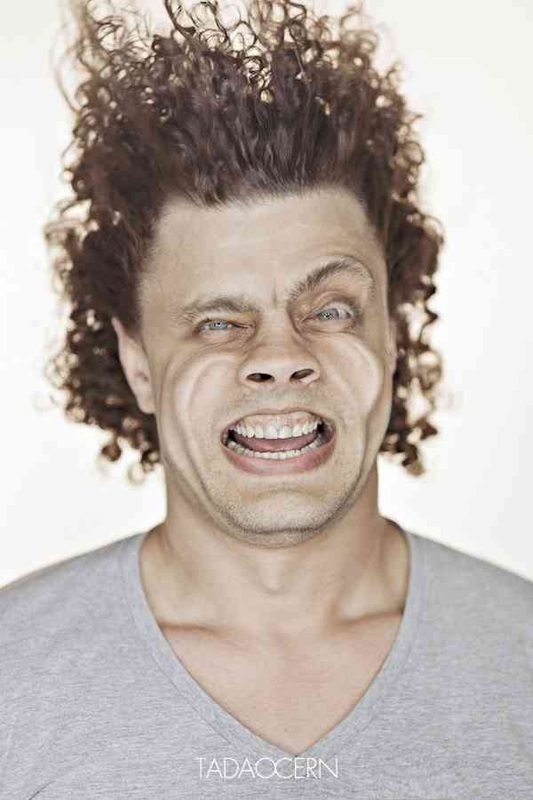
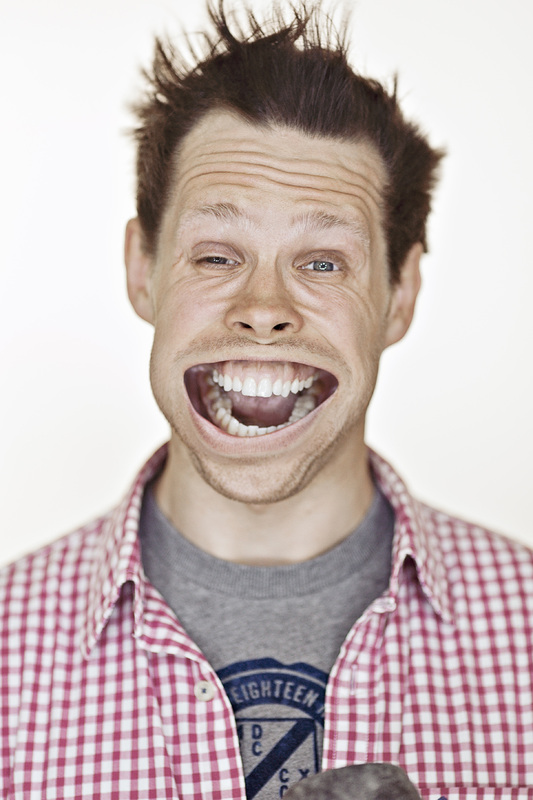
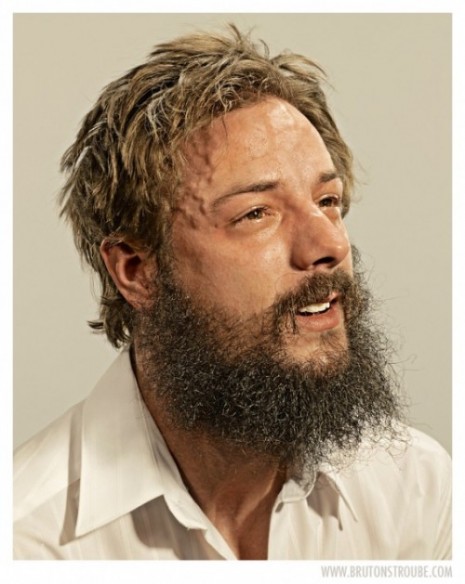
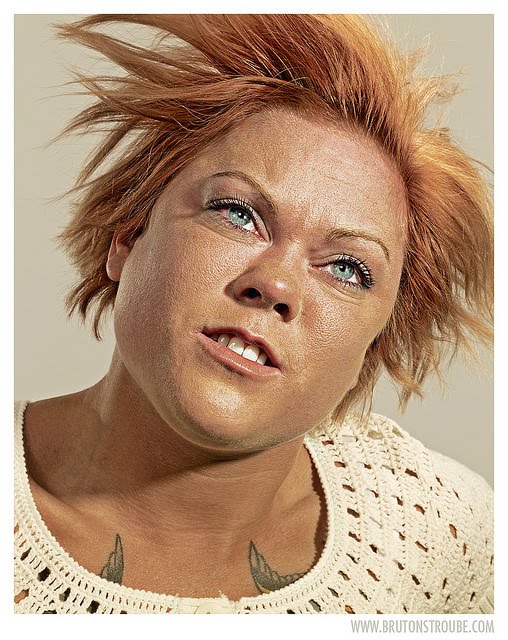
Cern uses wind to manipulate the faces of his models- altering the face physically without the need for extreme photoshop editing. The models themselves are all different; male and female, and of different ages groups- thus making the images even more alternative. However, Cern's house-style is still apparent throughout this series of images as the main focus of them seems to be the mouth and teeth as the skin is stretched and pulled away by the wind, revealing all of the teeth and gums in a strange and almost animalistic manner.
The lighting is bright and unforgiving; no clever lighting techniques have been used here to make the models appear more/ less attractive. It is similar to the work of Martin Schoeller, who uses bright lighting to reveal all of the imperfections in people's faces. This is done here, not to make as bold a statement as Schoeller, but the lighting reveals all of the creases and dents which are created as the wind blows against them; showing just how distorted the face has become because of it.
The lighting is bright and unforgiving; no clever lighting techniques have been used here to make the models appear more/ less attractive. It is similar to the work of Martin Schoeller, who uses bright lighting to reveal all of the imperfections in people's faces. This is done here, not to make as bold a statement as Schoeller, but the lighting reveals all of the creases and dents which are created as the wind blows against them; showing just how distorted the face has become because of it.
Brandon Voge.
|
|
|
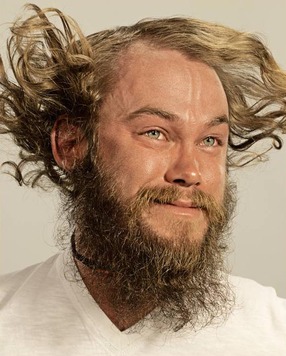
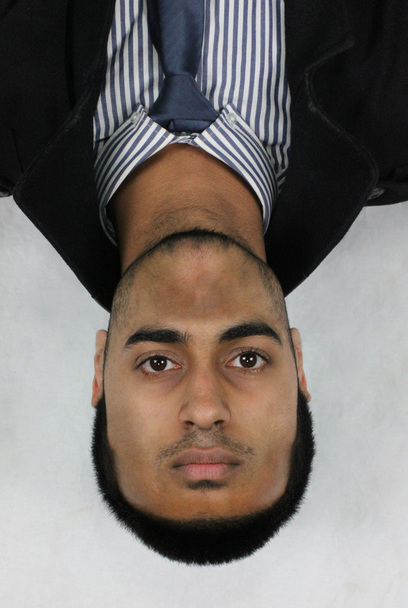
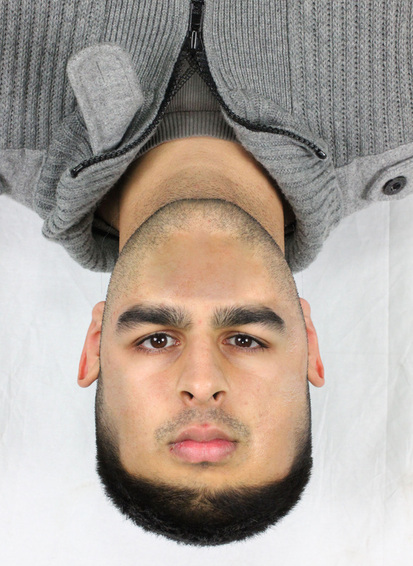
Similarly to Cern, Brandon Voge physically alters the model's faces before taking the picture; therefore requiring less photoshop manipulation later on.
His method for doing so is simple, yet effective: he hangs his model's upside down for a few minutes, capturing the image and rotating it so that the model's seem to be the right way around but still with the effects of being hung upside-down.
The image is distorted as the blood rushes to the face and eyes, causing them to go red and veins to become more prominent. In addition to this, gravity plays it's part in causing the hair and facial features to be pulled downwards, the cheeks and mouth seem to droop, giving an all-round strange appearance to the models.
Working in the style of Voge.
|
|
To mimic the style of Voge's work, I used a simple classroom table draped in a white sheet and asked my models in turn to lie face down over the edge of the table. They did this until their face and eyes had begun to go red, I then turned the around so that they were still upside down against the table, but facing the camera. I chose two large soft lights ether side of the model's face and one additional light directly in front. The reason being that I wanted full coverage of the face and all of the effects of being hung upside down to be obvious; such as the way that the skin is pulled towards the ground, and the way that veins become more prominent.
I think this was successful, however I would like to have hung the models upside down for longer to make the altered features more extreme, the way that they are shown in vogue's images where the models almost look in pain. |
|
|
Photoshop Manipulation
Photoshop was used for these images to enhance what was already apparent rather than to manipulate or change anything.
I increased the contrast to enhance the areas of darkness or of red pigment, for example the whites of the eyes were red from being hung upside down. I then used the 'bloat' tool under the 'liquify' settings to increase the size of the cheeks and areas which were distorted when hung upside down to make them look even more exaggerated . |
Best Three Images.
These three particular images stood out to me as the most successful ones because, as a whole, these images taken seemed to be the most effective in terms of achieving the physical desired affect. After receiving feedback from my classmates, many of them had said 'He looks like he is about to explode' about the male model- meaning the shoot had been successful. The face seems distorted and misshapen, veins are more prominent in the forehead and the eyes have gone red and watery from the blood rushing to his head. I am also happy with the lighting as no harsh shadows are created on the face and the light is spread evenly. They had also complimented on the images with the female models describing the effects of the images as 'weird' and 'creepy'.
Turning The Features Around.
Inspiration.
|
|
|
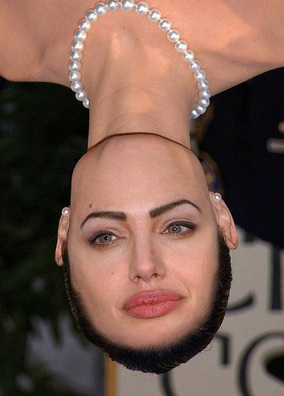
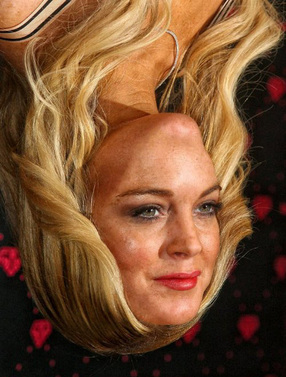
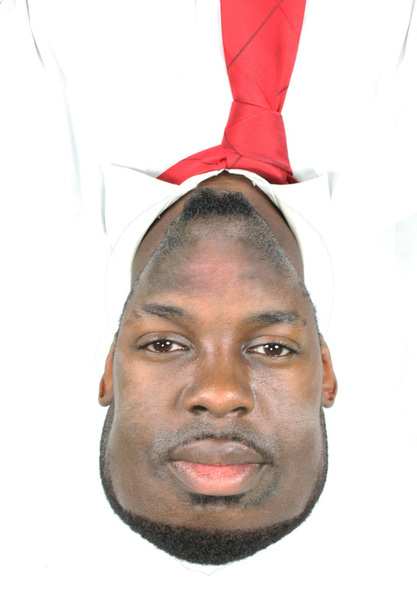
These images have been created from snapshots of well-recognised and well-known celebrities, at glamorous events and red carpet premiers etc. However they have been used to distort and disfigure the layout of the face and the features have been kept in the same place while the rest of the head and body have been turned around, therefore leaving the image and face as a whole very surreal and strange.
Additionally, the fact that these are not planned photoshoots with professional lighting techniques adds to the overall idea of the images; it captures the celebrities in a natural and comfortable way, and later shows how strange their faces can appear when such a minor aspect has been changed. Perhaps this could be challenging the idea that celebrities are all good looking and perfect, or merely just creating these for the entertainment of the public.
I intend to work in this way- turning the faces and bodies of people upside down on photoshop and keeping the facial features in the same position, I also plan to take this style and change it slightly; perhaps keeping the faces and heads in the same place whilst turning the features upside down.
First Attempt.
|
|
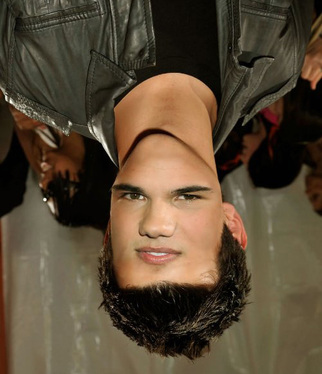
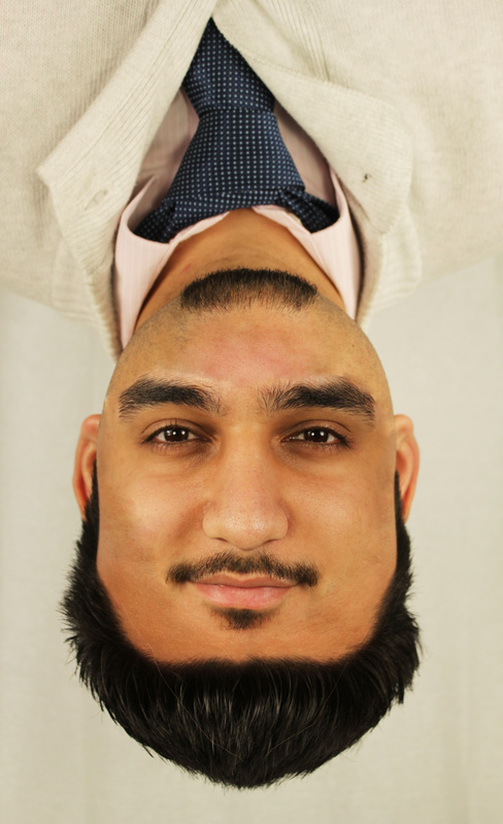
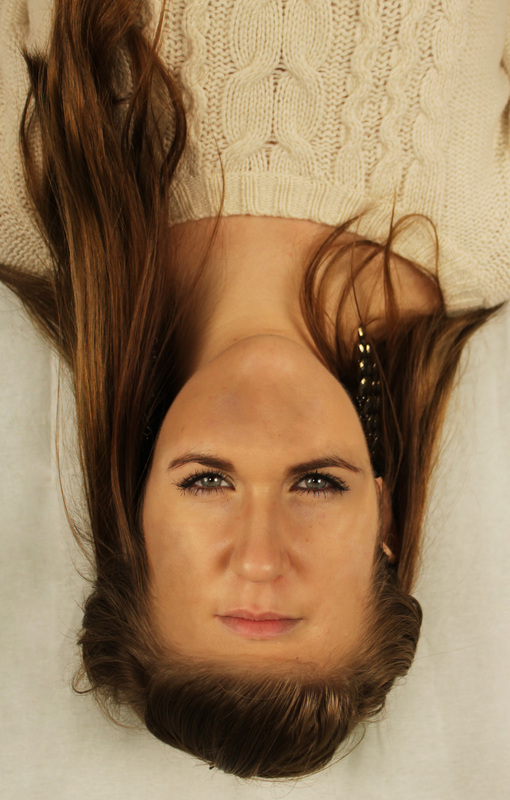
To create these images, I used photographs where the model's face is very well lit (using two large soft lights either side of the model's head and one smaller one in front).
On photoshop, I used the 'quick selection' tool to select the parts of the face which I wanted to remain the same. I then copied the selected part of the face onto a new layer while I removed the features from the original photograph. I used the 'patch' tool to remove the features from the original photoshoot before rotating the image and applying the copied features back on. I used the patch tool to remove any edges from the features so that they blended smoothly into the rest of the skin; making the whole image more believable. |
Second Experiment.
After experimenting firstly with male and female models it was apparent that the most successful outcome was with the male model. This is because of the length of the hair, as it is shorter it looks more realistically like a beard when the image is rotated, in comparison to the female model which looks less believable.
Because of this, I decided to create a few more of these images using only male models, I believe that the outcome was very successful and may be something which I decide to encorporate into my final piece.
Because of this, I decided to create a few more of these images using only male models, I believe that the outcome was very successful and may be something which I decide to encorporate into my final piece.
Using Cling Film.
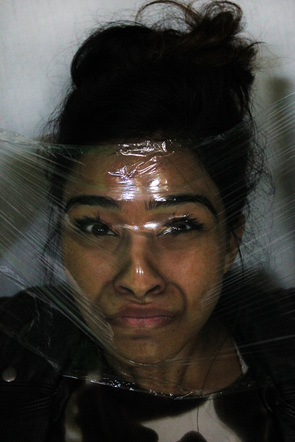
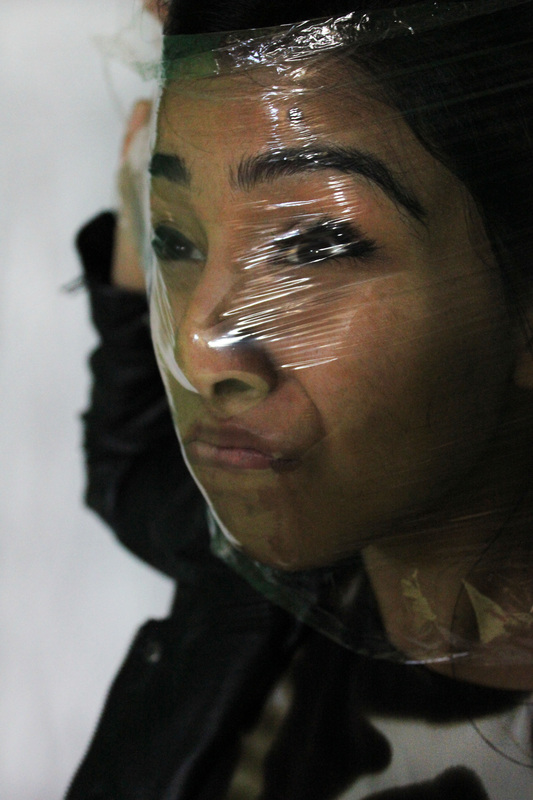
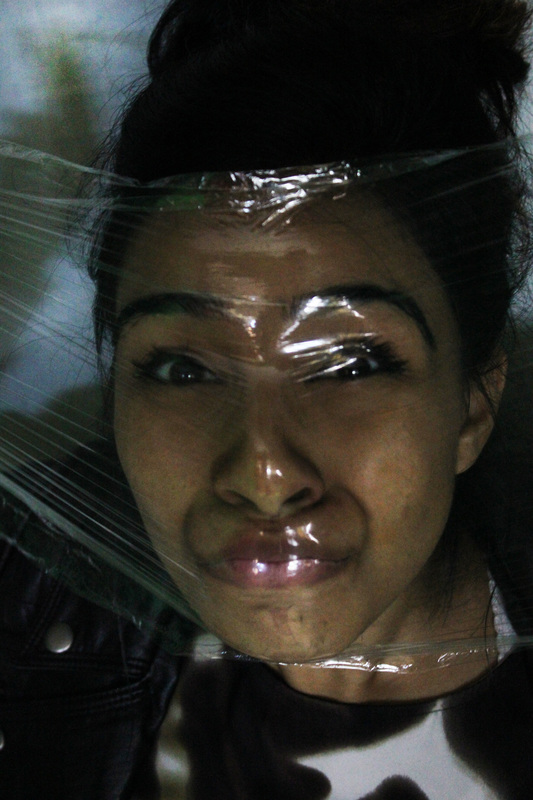
I decided to use cling film to alter the appearance of the face, as I already knew that it causes the face to be pulled and and pushed into unusual positions and therefore causes the face to seem abnormal. I think this went well as the face did seem very physically distorted, however, my one concern both before and after the shoot was the lighting. I knew that it would be difficult to achieve good quality pictures using cling film because when lighting techniques and positions were used- the light reflected off of the cling film, and when the lighting was dimmed or shone away from the model, the image was too dark. In the end I had to compromise and use one single soft light to the right of the model and facing slightly away as this caused the least glare possible and also produced an image that was of decent quality.
I think that this experiment was successful in terms of composition and achieving a well composed and distorted face, however the fact that there was no room for the use of clever or planned lighting techniques meant that I had to compromise the overall finish of the images and the quality.
I think that this experiment was successful in terms of composition and achieving a well composed and distorted face, however the fact that there was no room for the use of clever or planned lighting techniques meant that I had to compromise the overall finish of the images and the quality.
Most Successful Images.
|
|
|
These were my most successful images of the shoot, this is because of the contrast and alteration in the shape and expression of the face. It seems very distorted and physically manipulated by the cling-film. Additionally, these were the images in which the lighting (which was inevitably apparent) reflected was minimal. I also think that the contrast between the light and dark areas of these images works well as it highlights the parts of the face which are forcefully pressed against the plastic such as the nose, eyelashes, lips and forehead.
Using String.
This was my first real experiment that wasn't in the style of a photographer; it was also the first idea that I thought of when brainstorming ways to manipulate the face. String seemed like the most basic and simple idea- pulling it tightly across the face so that it causes the skin to rise between the different pieces of string. It also warps the face by altering the shape and position of different features such as pulling down the nose and ears. I wanted these images to be well lit so that all the effects of the string would be apparent. I did this by positioning one light directly in front of the model at face level, and two additional lights either side.
I think this experiment wasn't very successful because the string proved quite difficult to pull tight across the face; I was thinking that for my next experiment using this technique I would use elastic bands as they don't require pulling because of the natural elasticity and this would also cause it to dig further into the skin and therefore have a more effective result than string.
I think this experiment wasn't very successful because the string proved quite difficult to pull tight across the face; I was thinking that for my next experiment using this technique I would use elastic bands as they don't require pulling because of the natural elasticity and this would also cause it to dig further into the skin and therefore have a more effective result than string.
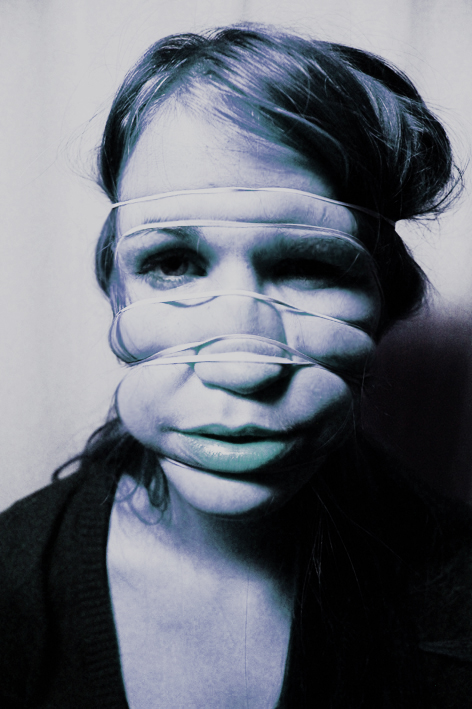
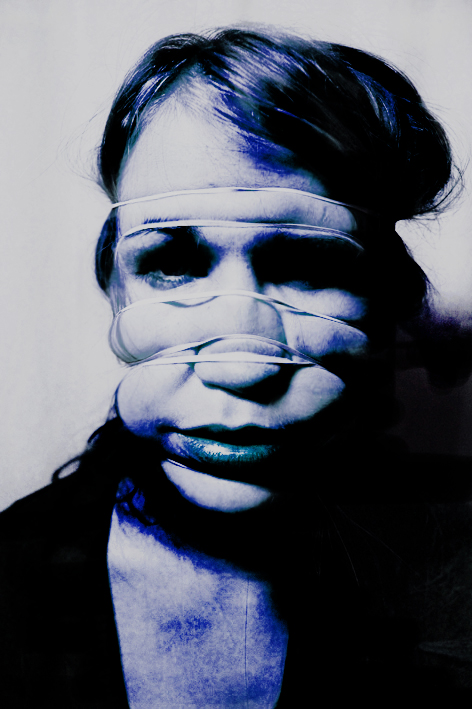
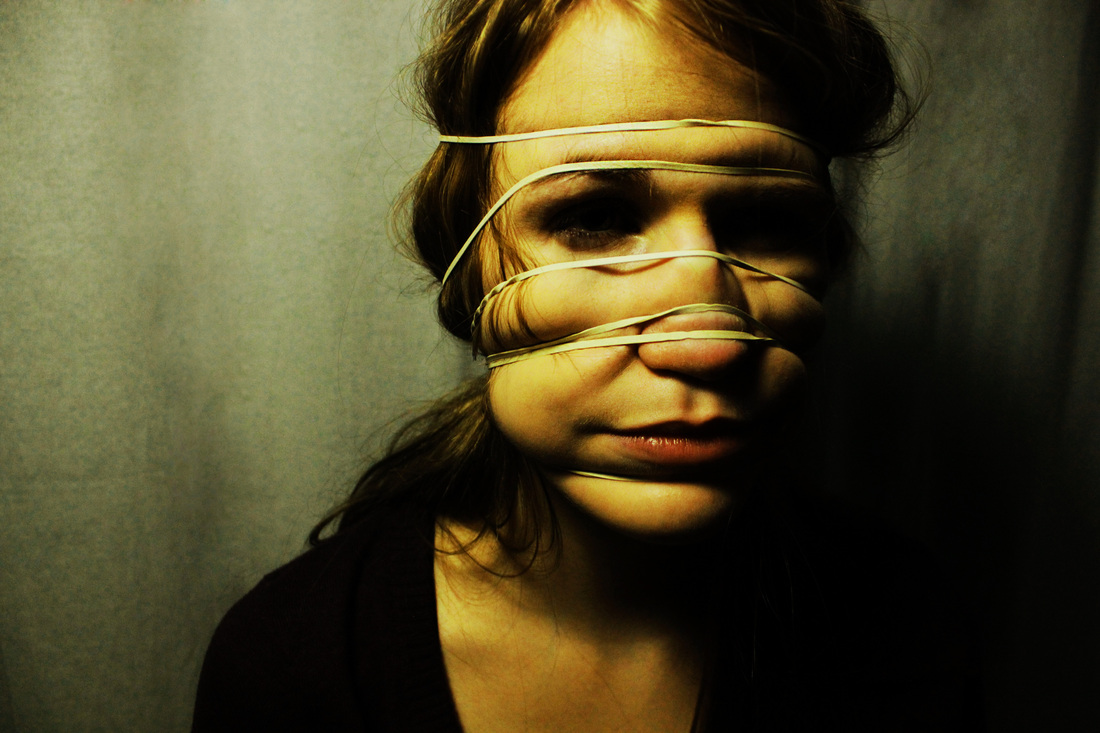
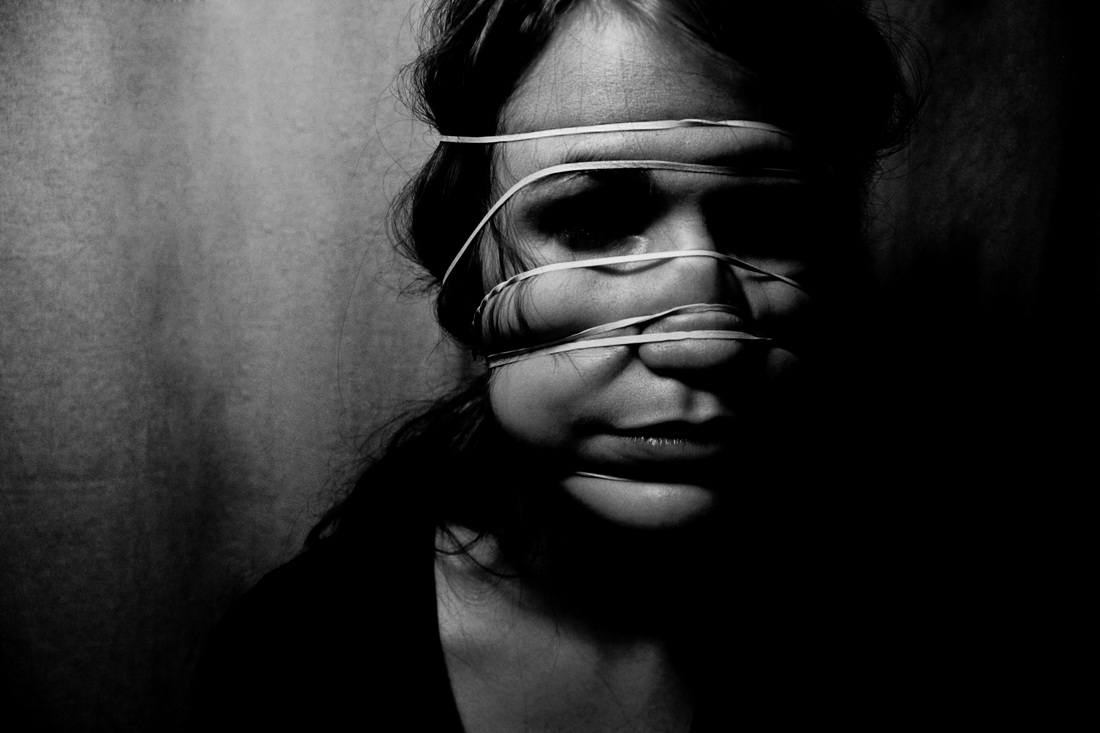
Using Elastic.
Inspiration.
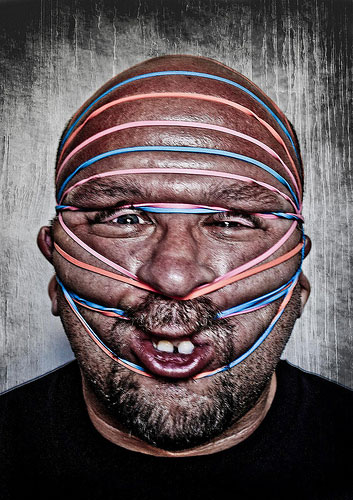
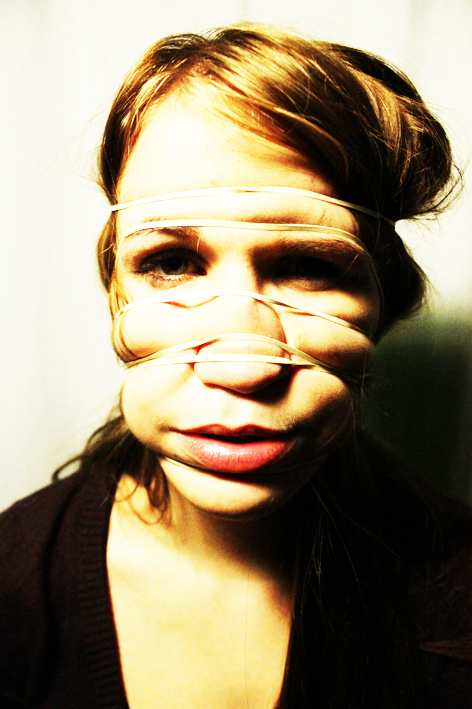
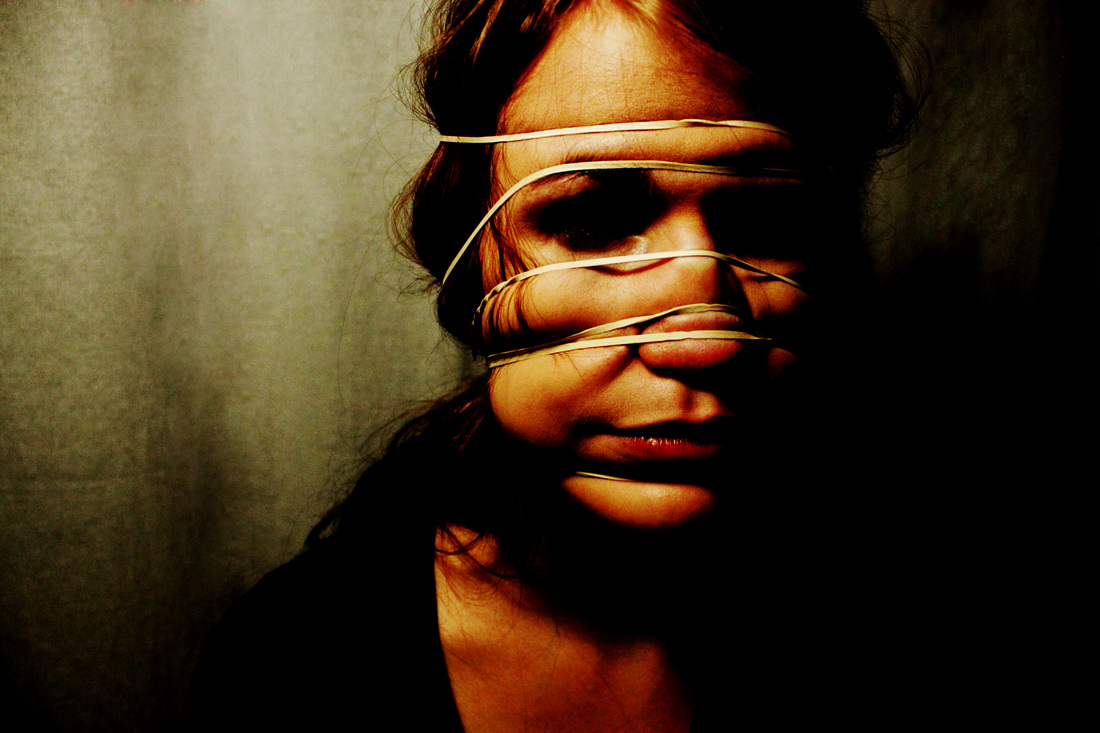
This image was my main inspiration for this photoshoot, the effects of the elastic are very apparent on the face where it digs into the skin and also pulls some of the features out of proportion and distorts them in doing so. For example, the upper lip has been pulled up revealing the teeth in an unflattering and strange way. Similarly, the eyelids have been pushed down by the elastic and the eyes appear to squint because of this. The skin has been pulled in by the elastic and because of this, parts of it bulge out from between the elastic making it look even more surreal.
The grainy effect of the image makes them
The grainy effect of the image makes them
Experimentation:
I used this photoshoot to show the way in which tight elastic bands manipulate the face. I applied these to the model's face in places that would seem quite surreal when distorted, for example the eyes and nose. After doing this, I decided to use one hard light at an angle slightly above the model's head; this highlighted the areas of the face and still created the desired shadows where the elastic cut into the face.
|
|
Photoshop Manipulation
I edited my most successful images in Photoshop. First I enhanced the contrast to make the darker areas where the elastic digs into the skin more obvious.
I then slightly desaturated the images so that bright colours didn't distract from the main point of the images which was the elastic. Using the 'liquify' settings, I selected the 'bloat' tool to increase the size of the areas of skin which bulged between the strings of elastic and therefore making them look stranger and more exaggerated. To add a final finishing touch, I used the 'patch' tool to remove the creases in the backdrop, giving it a smoother finish as well as using the 'dodge' tool to brighten the backdrop's darker areas. |
|
|
|
|
|
|
